
How to Save Your First
$1,000 Using the
50/30/20 Rule
Your first $1,000 saved is not just money. It’s proof that the system works — and the foundation for everything that comes after.

The 50/30/20 rule is the most practical budgeting framework ever created for everyday Americans. It doesn’t require a spreadsheet, a finance degree, or a dramatic lifestyle change. It just requires knowing your after-tax income and being honest about which expenses belong in which category. Here is how to apply it to save your first $1,000 — no matter what you earn.
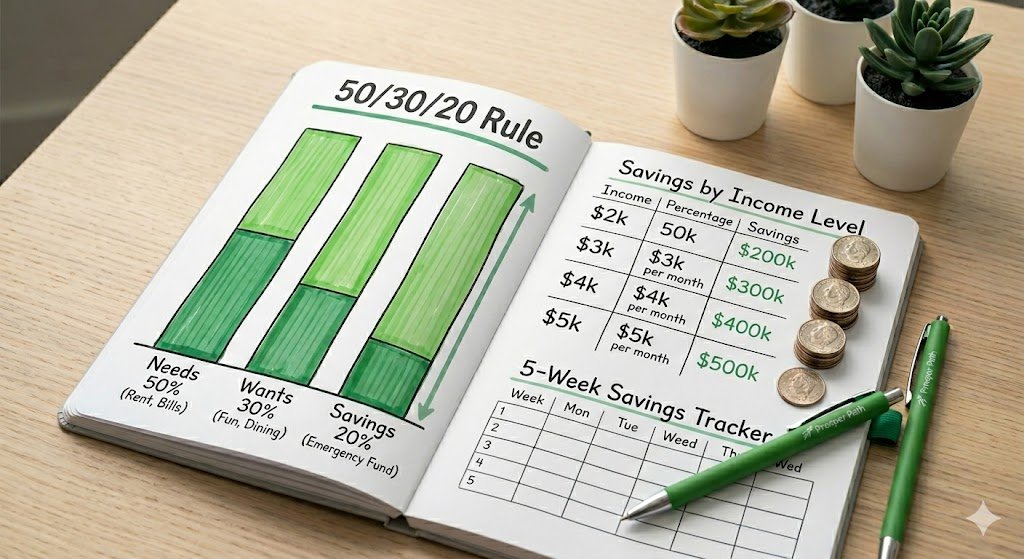
The beauty of this rule is its simplicity. You do not need to track every dollar — just allocate your after-tax income into these three buckets and automate the 20% savings transfer on payday. Everything else takes care of itself.
| Monthly Take-Home | 50% Needs | 30% Wants | 20% Savings | Months to $1K |
|---|---|---|---|---|
| $2,000 | $1,000 | $600 | $400 | 2.5 months |
| $2,500 | $1,250 | $750 | $500 | 2 months |
| $3,000 | $1,500 | $900 | $600 | 1.7 months |
| $4,000 | $2,000 | $1,200 | $800 | 1.3 months |
| $5,000 | $2,500 | $1,500 | $1,000 | 1 month |
Calculate Your Real After-Tax Income
This is the number that everything else is based on — not your salary, but the money that actually lands in your bank account after taxes, Social Security, and any other withholdings. Check your most recent pay stub for your net pay amount. If you are paid bi-weekly, multiply that number by 26 and divide by 12 for your monthly figure.
- Use your last pay stub — look for “Net Pay” not “Gross Pay”
- Bi-weekly pay: multiply net pay × 26 ÷ 12 = monthly income
- Freelancers: use your average monthly income from the last 3 months
- Variable income: use your lowest recent month as a conservative base
Categorize Your Current Spending
Open your bank app or credit card statement for last month. Go through every transaction and label it as a Need, Want, or Savings. Most people are surprised by two things: how much their Wants actually cost, and how many subscriptions they have forgotten about.
If your Needs exceed 50%, you have three options: reduce them (negotiate bills, find cheaper housing, refinance debt), increase your income, or temporarily reduce your Wants bucket to compensate. If your Savings is at 0%, the next step fixes that immediately.
Automate Your 20% Savings Transfer
This is the single most important step. Do not rely on willpower to save money at the end of the month — there will never be money left. Instead, set up an automatic transfer from checking to savings on the same day you get paid. The money moves before you can spend it.
- Log into your bank account right now and set up a recurring transfer
- Set the transfer date to the day after your paycheck arrives — or the same day
- Use a separate high-yield savings account so the money is harder to access impulsively
- Start with whatever your 20% calculation says — even if it feels like too much
The 60-Day $1,000 Tracker
What to Do When 50% Needs Feels Impossible
In high cost-of-living cities like New York, Los Angeles, or Miami, getting Needs below 50% on a typical income is genuinely difficult. Here is what to do when housing alone eats 40% of your take-home pay:
- Adjust to 60/20/20 temporarily — reduce Wants to 20% and keep Savings at 20%
- Focus on reducing the single largest Need first — usually rent or car payment
- Add income before cutting further — a $200/month side hustle changes all three percentages
- Never cut the savings percentage — cut Wants first, always
The moment you hit $1,000 saved, redirect your 20% savings allocation to this order: 1) Build to 3 months of expenses (full emergency fund) → 2) Contribute to 401(k) up to employer match (free money) → 3) Pay off high-interest debt → 4) Invest the rest. This sequence is the foundation of every sound personal finance plan.
With One Transfer.
Set up the automatic transfer right now. Not after you finish this article. Right now — while the intention is fresh. It takes 3 minutes and changes everything.
Calculate your net monthly income
Multiply by 20% = your savings target
Set up auto transfer today
Never touch it for 60 days
